

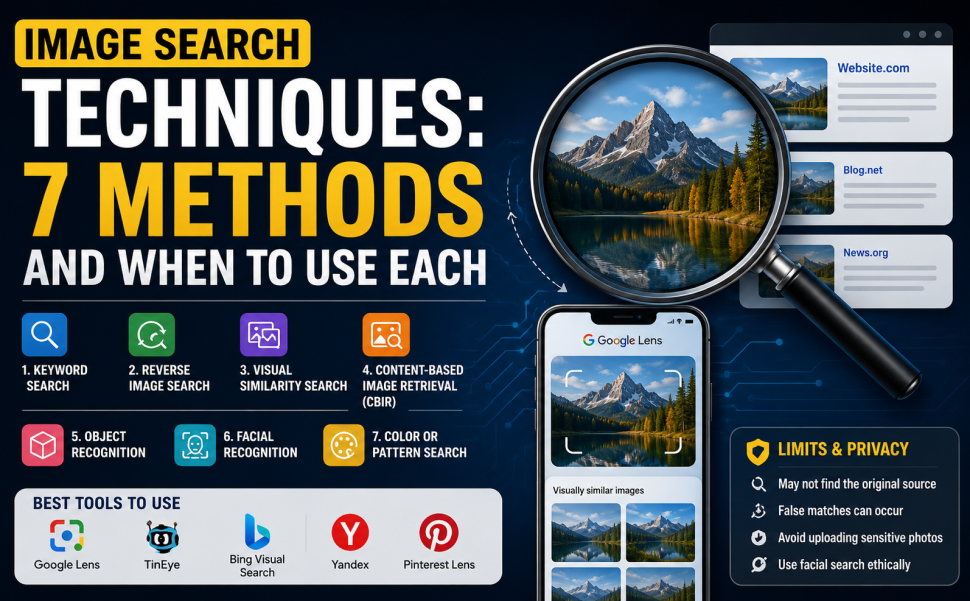
There are seven main image search techniques for finding what you need using a picture instead of words. Keyword-based search, reverse image search, visual similarity search, content-based image retrieval (also called CBIR), object recognition, facial recognition, and color or pattern search. Most people only ever touch two of them, though – keyword search when you’re hunting for a new image, and reverse image search once you already have one and just need to know where it came from.
So say you’ve got a photo saved somewhere on your phone. No clue where it’s from, who took it, what it’s even showing half the time. Typing words into a search bar doesn’t help here – you don’t have words for it, you’ve got the picture itself. That’s really the whole reason image search techniques exist: they let you search with a picture instead of hunting for one.
What follows is a plain rundown of how these techniques actually work, which tools are worth using for each, and – because most guides skip this part – where they genuinely fall short. (For more breakdowns like this one, check out the Technology section on incfidelibus.com.)
How Image Search Actually Works
All seven techniques boil down to roughly the same trick. A computer takes a picture apart into measurable pieces (colors, edges, shapes, textures) and builds something like a digital fingerprint out of them. Then it checks that fingerprint against billions of other indexed images and looks for matches, exact or close. Every one of these image search techniques starts from that same fingerprint-and-compare foundation.
Two things drive that. One is computer vision, figuring out what’s actually in the picture – a dog, a building, a logo, whatever it happens to be. The other is metadata: filenames, captions, alt text, anything written near an image that the pixels by themselves can’t tell you.
Keyword search runs almost entirely on that second piece. The more visual techniques barely touch metadata and depend on the fingerprint instead. Most modern tools, Google Lens included, now use both at once, and that combination is a big part of why searching by image feels so much sharper than it did even a few years back.
7 Image Search Techniques, Explained
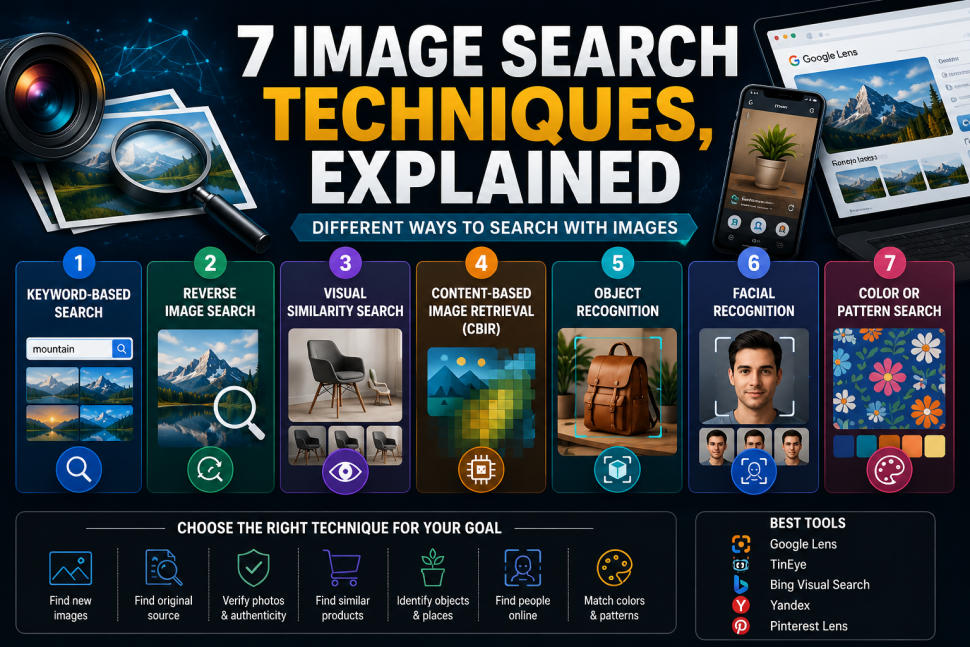
Keyword-based search is the one everyone already knows. You type words, the engine checks them against titles, captions, and alt text attached to images, and back come the results. It still works best when you actually describe what you want – “minimalist office desk setup” beats a bare “desk” every time.
Reverse image search flips that around. No typing at all – you upload a photo, or just paste in the URL, and the engine goes and finds where that same image, or close copies of it, already shows up online. Journalists reach for this one constantly. So do researchers, and honestly anyone trying to figure out if a photo is even real.
Visual similarity search is a different animal. It’s not hunting for the same picture – it’s hunting for pictures that just look similar in style, color, composition. Pinterest’s whole search experience is basically built around this one idea.
Then there’s content-based image retrieval, or CBIR. Not really a tool you’d open directly, more the technical layer sitting underneath most visual search. It reads actual pixel content – shapes, textures, layout – instead of any surrounding text at all. It’s the reason a shopping app can surface similar-looking products even when none of the listing text lines up.
Object recognition picks out specific things inside a photo – a handbag, a particular car model, a plant species – even when that object is just one piece of a much messier picture. Point Google Lens at a cluttered room and it’s this technique doing the work of naming one item correctly.
Facial recognition matches faces against other photos of the same person. Yandex has built a reputation as the strongest general engine for this specific job, and that reputation is exactly why it comes loaded with more privacy baggage than anything else on this list.
Last one: color and pattern search. Instead of matching subject matter, it matches dominant colors or repeating patterns. Design and fashion work relies on it a lot, whether someone’s tracking down a fabric print or just piecing together a color palette.
Which Technique Should You Actually Use?
| Your goal | Best technique | Best tool |
|---|---|---|
| Find new stock photos or illustrations | Keyword search | Google Images, Unsplash |
| Find where a photo came from | Reverse image search | Google Lens, TinEye |
| Verify a viral or news photo | Reverse image search | Google Lens, TinEye |
| Find products that look like a photo | Visual similarity search | Google Lens, Bing Visual Search |
| Identify an object, plant, or landmark | Object recognition | Google Lens |
| Find someone’s other photos online | Facial recognition | Yandex (use with caution — see limits below) |
| Match a color or fabric pattern | Color/pattern search | Pinterest Lens |
Best Image Search Tools Compared
If you only install one of these, make it Google Lens. It’s the most versatile – reverse search, object recognition, even pulling text straight out of a screenshot – and it’s free everywhere, desktop or mobile.
TinEye does less overall, but for reverse search specifically it’s often sharper. Need to know exactly when an image first showed up online? That matters a lot in copyright disputes, and TinEye usually gives a cleaner answer than Lens does there.
Bing Visual Search leans commercial through and through. It’s built for “find me this exact product” moments, not really for research or verification work.
And then Yandex – the odd one out. It’s genuinely the strongest at facial matching among the mainstream tools. Which is also exactly what makes it the riskiest one to use without thinking twice.
How to Run a Reverse Image Search
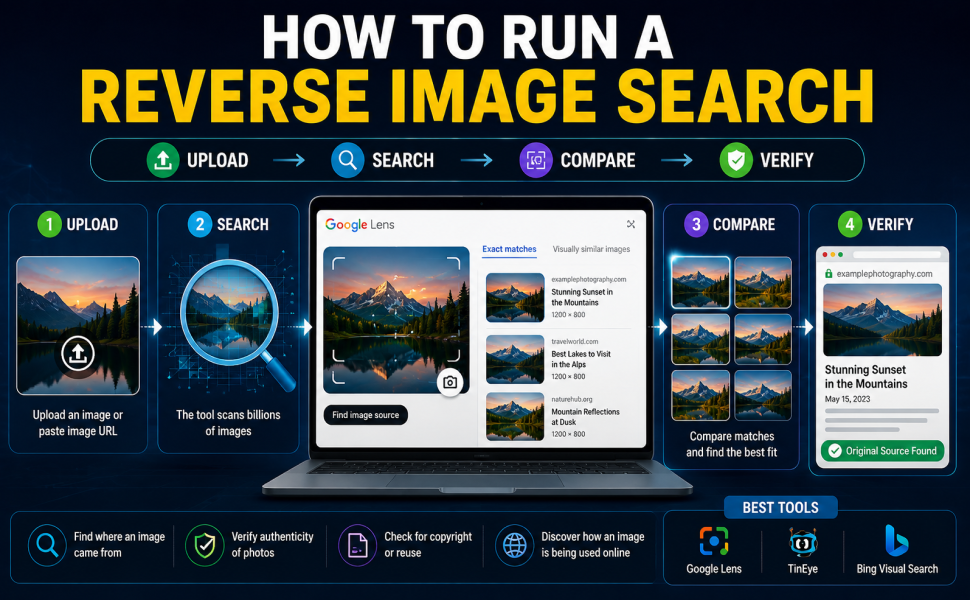
Takes about ten seconds, really.
Head to images.google.com, or open the Google app and tap the Lens icon. Upload a photo, paste in an image URL, or just drag a file straight into the box – whichever’s easiest. On mobile you can skip a step entirely: long-press an image inside Chrome and pick “Search image with Google Lens” from the menu that pops up. (Google’s own walkthrough for searching with an image covers device-specific steps if you get stuck.)
Once results load, check both tabs. Exact matches show where the image already lives online. “Visually similar images” shows you things that are related but not identical – don’t skip that one. And if results feel too broad, throw in a text keyword alongside the image (a brand name usually works well) and most tools will narrow it right down.
Limits and Privacy: What Image Search Can’t Do
None of this is foolproof, and that’s the part most guides on the topic conveniently skip.
Start with sourcing. A reverse image search shows you where a picture has been seen, not necessarily where it was first created. Screenshots, reposts, and lightly edited copies muddy that trail fast, and there’s no reliable way around it.
Facial recognition is where real caution belongs. Running something like Yandex against a private person’s face, without them knowing, isn’t a neutral action. Depending on context, it can edge into something a lot closer to stalking than casual curiosity. Worth sitting with that before you do it.
False matches happen more than people expect too – similar lighting or a similar pose is often enough to pull up results with nothing actually in common. And heavily edited or AI-generated images tend to return no useful matches at all, simply because there’s no real “original” sitting out there for the system to find.
Common Mistakes People Make
A handful of things trip people up again and again when using these image search techniques. Reaching for keyword search when what they actually need is object recognition, to identify something unknown, is a common one – keywords won’t help if you don’t have the words. Assuming the top reverse-search result is the original source is another; more often it’s just whichever copy picked up the most links, not the first one ever posted.
Cropping too tightly before running an object-recognition search is a quieter mistake – cut away the surrounding context and you can strip out exactly what the AI needed to make a confident call. And people skip the “similar images” tab constantly, even though for creative or product research it’s frequently more useful than the exact matches they default to checking.
FAQ
What’s the difference between reverse image search and visual search?
Reverse image search hunts for the same picture elsewhere online. Visual search hunts for different pictures that just happen to look alike – same tech underneath, different question being asked.
Is reverse image search accurate?
For exact or near-exact copies, pretty reliably. It gets shakier the moment you’re trying to pin down an image’s true original source, since the tool can only ever show what’s actually been indexed, not everything that exists on the internet.
Can I reverse image search a screenshot from a video?
Yes – pause the video wherever you need, grab a screenshot, and run that through a reverse image search tool just like any other photo.
Is it safe to upload personal photos to Google Lens or Yandex?
Google won’t publish what you upload publicly, but it’s still processed on their servers, so calling it “private” is a stretch. Avoid anything sensitive, and think twice before running a facial search on someone else without asking first.
Conclusion
Most people, realistically, only need two of these seven image search techniques – keyword search for finding something new, reverse image search for tracing something they already have. The other five matter mainly if you’re shopping visually, doing verification-style work, or designing something. Don’t bother memorizing all seven. Match the technique to whatever question you’re actually asking, instead of grabbing whichever tool happens to already be open.
[…] Clears Up the Confusion Is Bumpdots.com Legit? What You Should Know Before You Trust It Image Search Techniques: 7 Methods and When to Use Each North Carolina Technology Education Community Foundation Grant 2026 Is Thesindi com Legit? […]